

Diving into video editing for the first time? It's really not as complicated as it looks. At its heart, editing is simply the craft of weaving together video clips, sounds, and images to tell a story. You'll learn how to snip out the awkward pauses, layer in some music to set the mood, and stitch your best takes into something you're proud to share. Getting these fundamentals down is your ticket to making content that grabs attention and looks seriously professional.
Your First Steps in Video Editing
Jumping into video editing used to feel like a monumental task, but thankfully, those days are long gone. It’s no longer some secret art reserved for Hollywood pros. Today, it’s an essential skill for everyone from marketers and small business owners to creators and anyone just wanting to make cool videos. Whether you're putting together an ad for Instagram or a highlight reel of your family vacation, knowing the basics of editing opens up a whole new world of creativity.
The market backs this up, too. The video editing software industry is on track to hit USD 3.73 billion by 2033, a boom fueled by creators just like you. You can read more about this explosive growth over at Straits Research.
Don't worry about memorizing every button and menu in the software right away. The real goal here is to get comfortable with the core ideas that underpin every single video project.
Core Concepts You Need to Know
Before you even think about dragging a clip onto a timeline, let’s quickly cover a few key terms. Getting a handle on these will make you feel way more confident and in control.
- Resolution: This is all about your video's clarity, measured in pixels. You'll commonly see 1080p (Full HD) or 4K (Ultra HD). A higher resolution means a crisper, more detailed picture—pretty much essential for today's sharp screens.
- Frame Rate (FPS): Think of this as the number of still images shown every second to create motion. A standard 24 or 30 FPS gives you that smooth, natural look. If you want to create buttery-smooth slow-motion, you'll want to shoot at a higher frame rate, like 60 FPS.
- File Types: The two big ones you'll run into are .MP4 and .MOV. MP4 is the jack-of-all-trades, perfect for just about any social media platform or website. MOV is an Apple favorite, often used for higher-quality files straight from an iPhone or professional camera.
Getting these basics down takes the "scary" out of the technical side. It lets you stop worrying about the settings and start focusing on what really matters: telling a great story.
Why Editing Is a Must-Have Skill
In a world where everyone's scrolling through visual content, a well-made video is a game-changer. For small businesses, it can be the difference between a potential customer scrolling past or stopping to watch, click, and buy. Even for personal projects, a thoughtful edit turns a jumble of phone clips into a memory you'll want to rewatch for years.
As you start out, it helps to see how these skills translate into real-world results. Our guide on small business video marketing offers a great look at how editing can directly impact a business's success. It’s all about building a strong foundation so you can take your raw footage and confidently shape it into something amazing.
Finding Your Perfect Video Editing Software
The tool you pick can either make video editing a joy or a total headache. It's easy to get lost in the sea of options, with every program screaming that it's the best. But here's the secret: you aren't looking for the most powerful software on the planet. You're looking for the one that clicks with you.
For a beginner, that means focusing on a few key things: an interface that doesn't make you want to close the app immediately, a learning curve that isn’t a vertical cliff, and a solid community with plenty of tutorials. Your software should feel like a creative sidekick, not a technical beast you have to wrestle.
First, What Are You Actually Making?
Before you even think about downloading a trial, pause and ask yourself what kind of videos you want to create. Are we talking quick, punchy clips for TikTok and Instagram Reels? Or are you dreaming of crafting a beautifully edited travel vlog for your YouTube channel? Your answer will point you in the right direction.
A simple social media video just doesn't need the same muscle as a short film that requires detailed audio mixing and pro-level color grading. Getting real about your immediate goals will stop you from overpaying for a bunch of fancy features you won't touch for months.
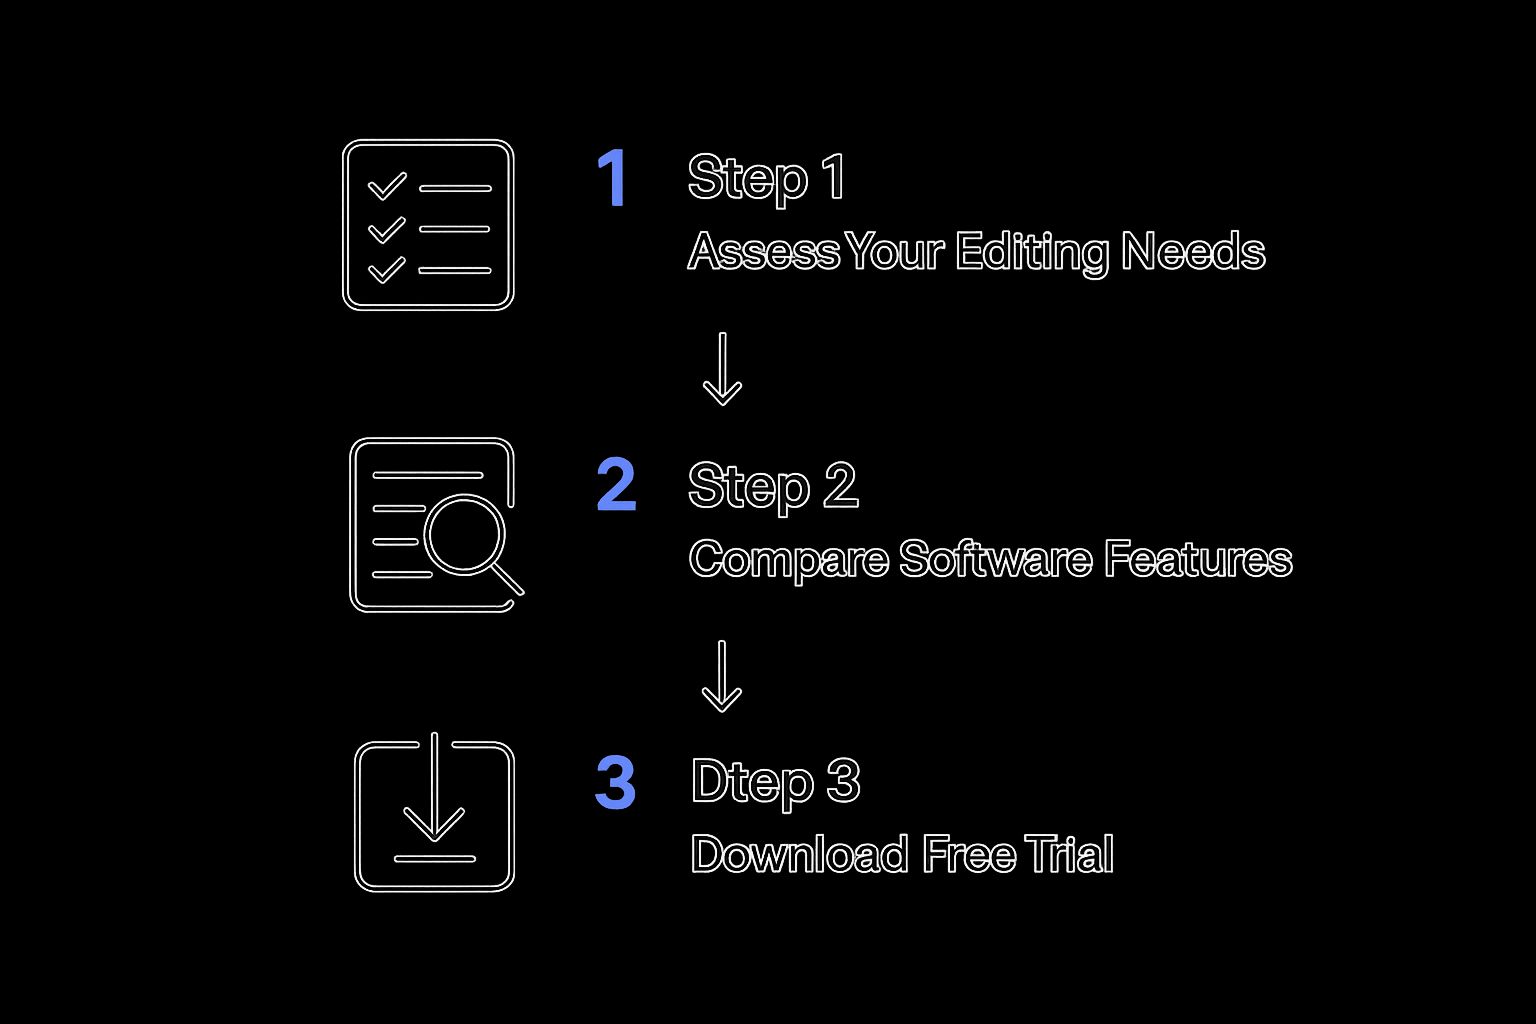
Starting with the end in mind makes all the feature comparisons and trial downloads so much less overwhelming.
The Big Question: Free or Paid?
The great news? You can create incredible videos without spending a penny. Seriously. Tools like DaVinci Resolve (the free version is a powerhouse) and CapCut give you so much to work with right out of the gate. DaVinci is legendary for its Hollywood-grade color correction, while CapCut has become the go-to for making social media content pop.
But as you get better, you might start to feel the limitations of free software. That’s when the industry heavyweights like Adobe Premiere Pro and Final Cut Pro start to look really appealing. They offer a much deeper feature set, handle complex projects more smoothly, and are built for a more professional workflow.
I've put together a quick table to help you compare some of the most popular choices for newcomers. It breaks down what you'll pay, who it's really for, and a standout feature that makes it great for beginners.
Comparing Popular Video Editing Software for New Users
| Software | Pricing Model | Best For | Key Beginner Feature |
|---|---|---|---|
| DaVinci Resolve | Freemium | Aspiring filmmakers & colorists | All-in-one "Cut Page" for fast editing |
| CapCut | Free | Social media creators (TikTok, Reels) | Auto-captions and viral-ready templates |
| Adobe Premiere Pro | Subscription | All-around content creators | Seamless integration with other Adobe apps |
| Final Cut Pro | One-time purchase | Apple users & YouTubers | The intuitive Magnetic Timeline |
Ultimately, the goal is to find a tool that feels intuitive to you. Each of these has a massive user base, so you'll never be short on tutorials or community support.
Don't just take my word for it—the market shows where people are landing. Among the top players, Adobe Premiere Pro has a 35% market share, with Final Cut Pro following at 25% and DaVinci Resolve at a strong 15%. You can dig into more of these fascinating video software statistics and trends to see how the industry is moving. Many creators are choosing paid subscriptions early on for the cloud features and consistent updates.
My Two Cents
If you're just starting, download the free version of DaVinci Resolve. Get your hands dirty. Learn the fundamentals—making cuts, syncing audio, and playing with basic color. Once you feel like the software is holding you back from your ideas, that's when you'll be ready to invest in a paid tool. You’ll appreciate its power so much more.
At the end of the day, the best software is the one you actually open and use. The only way to know is to try. Download a free version or a trial, throw some clips in, and see how it feels. A 30-minute test drive is worth more than a dozen review articles.
Mastering Your First Editing Workflow
Okay, this is where the magic really happens. You've picked your software, and now it's time to get your hands dirty and start turning that raw footage into something people actually want to watch. Building a solid workflow isn't about being a technical wizard; it's about forming good habits that save you from headaches down the road.
Before you even think about importing a single file, get your digital house in order. Seriously, this isn't just a friendly tip—it's the golden rule for a stress-free editing process. Create a main project folder on your computer. Inside that, make subfolders for Video, Audio, Images, and Exports.
This simple bit of organization means you'll never waste time hunting for that perfect B-roll shot or background music track. More importantly, it helps you avoid the dreaded "media offline" error that pops up when your software can't find a file you moved. Think of it as mise en place for video editing—get everything prepped and in its place before you start cooking.
Building Your Story on the Timeline
Once you’ve organized and imported your files, you’ll be looking at your timeline. This is your canvas. Your first job is to start laying down the foundation of your story by arranging your clips. I always start by dragging the most important footage—the A-roll, like a talking-head clip or the main action—onto the timeline first.
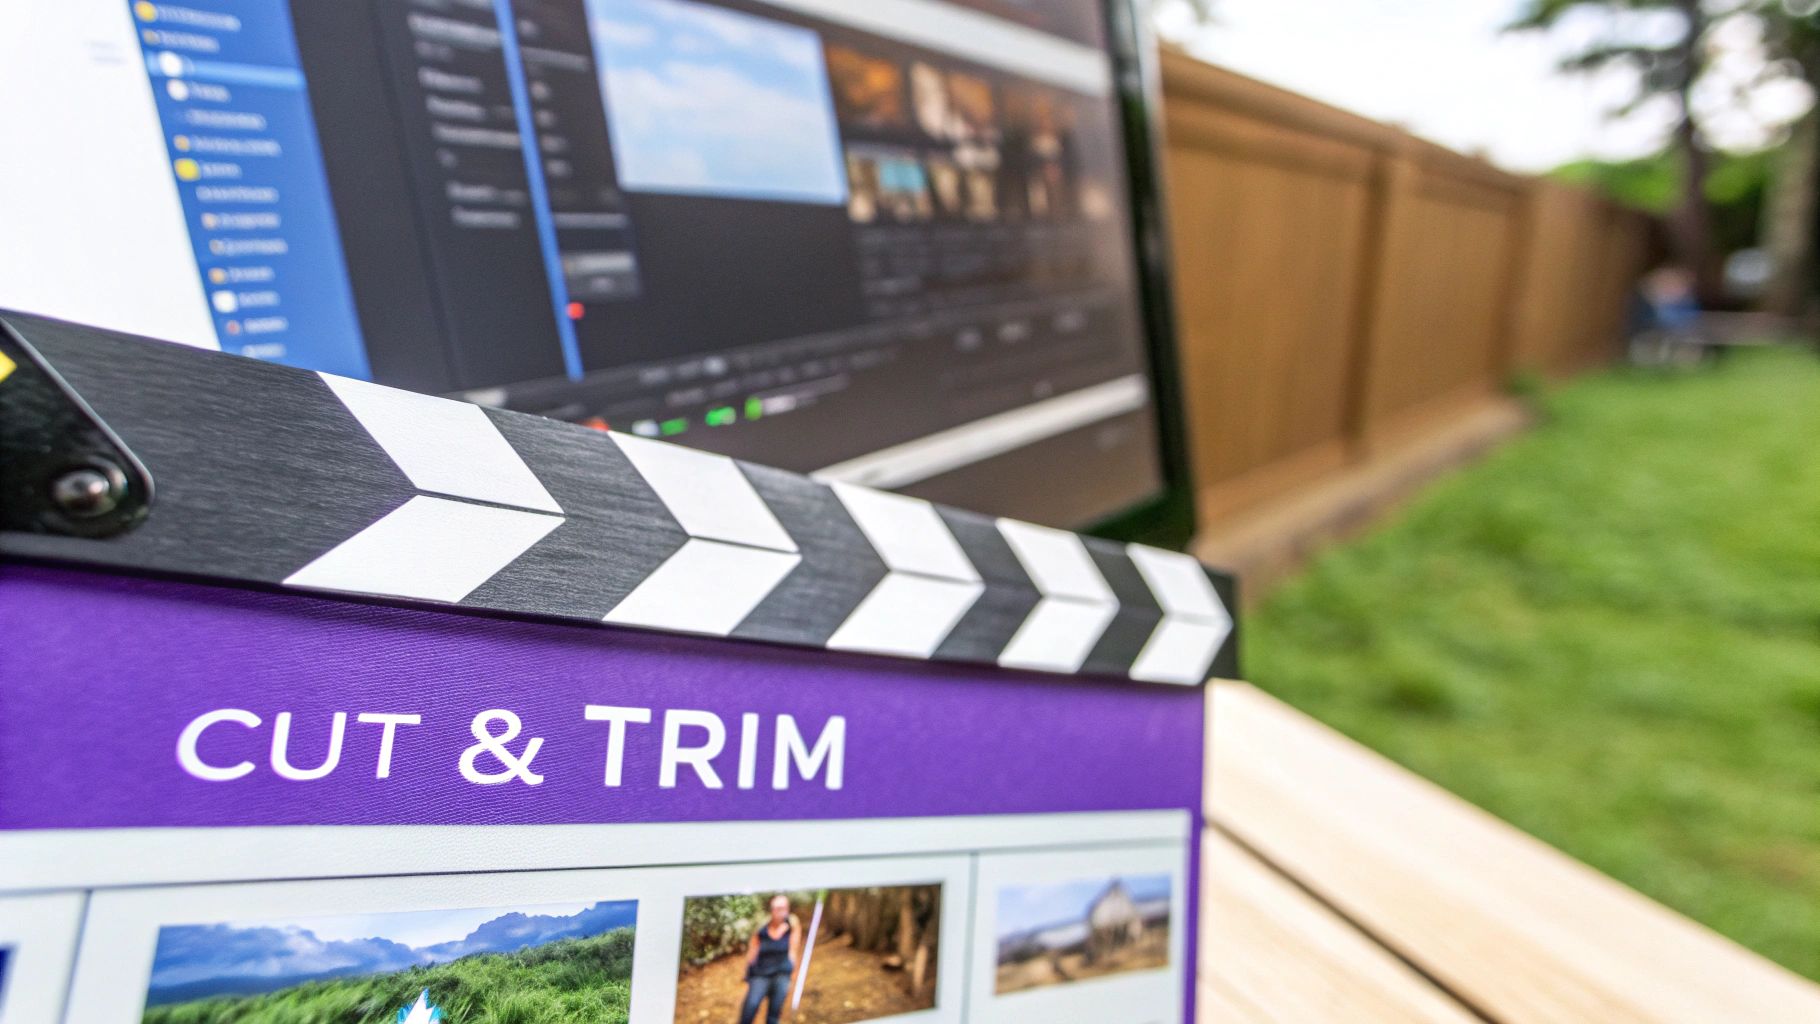
Now, it's time to trim the fat. Every editing program has a razor or blade tool that lets you slice up your clips. Go through your footage and cut out all the fluff: the moments before you started talking, the awkward pauses, the shaky camera movement at the end of a shot. You have to be ruthless here. If a shot doesn’t move the story forward, it needs to go.
A professional editor's secret isn't what they add, but what they take away. Your job is to find the strongest moments and remove everything else. This selective process is what turns a long, rambling recording into a tight, engaging video.
After making your cuts, you can start arranging your "selects"—your best takes—into an order that tells a story. For a simple talking-head video, this might just be a straight sequence. But for something like a travel video, you could group clips by location or time of day to create a more compelling visual journey.
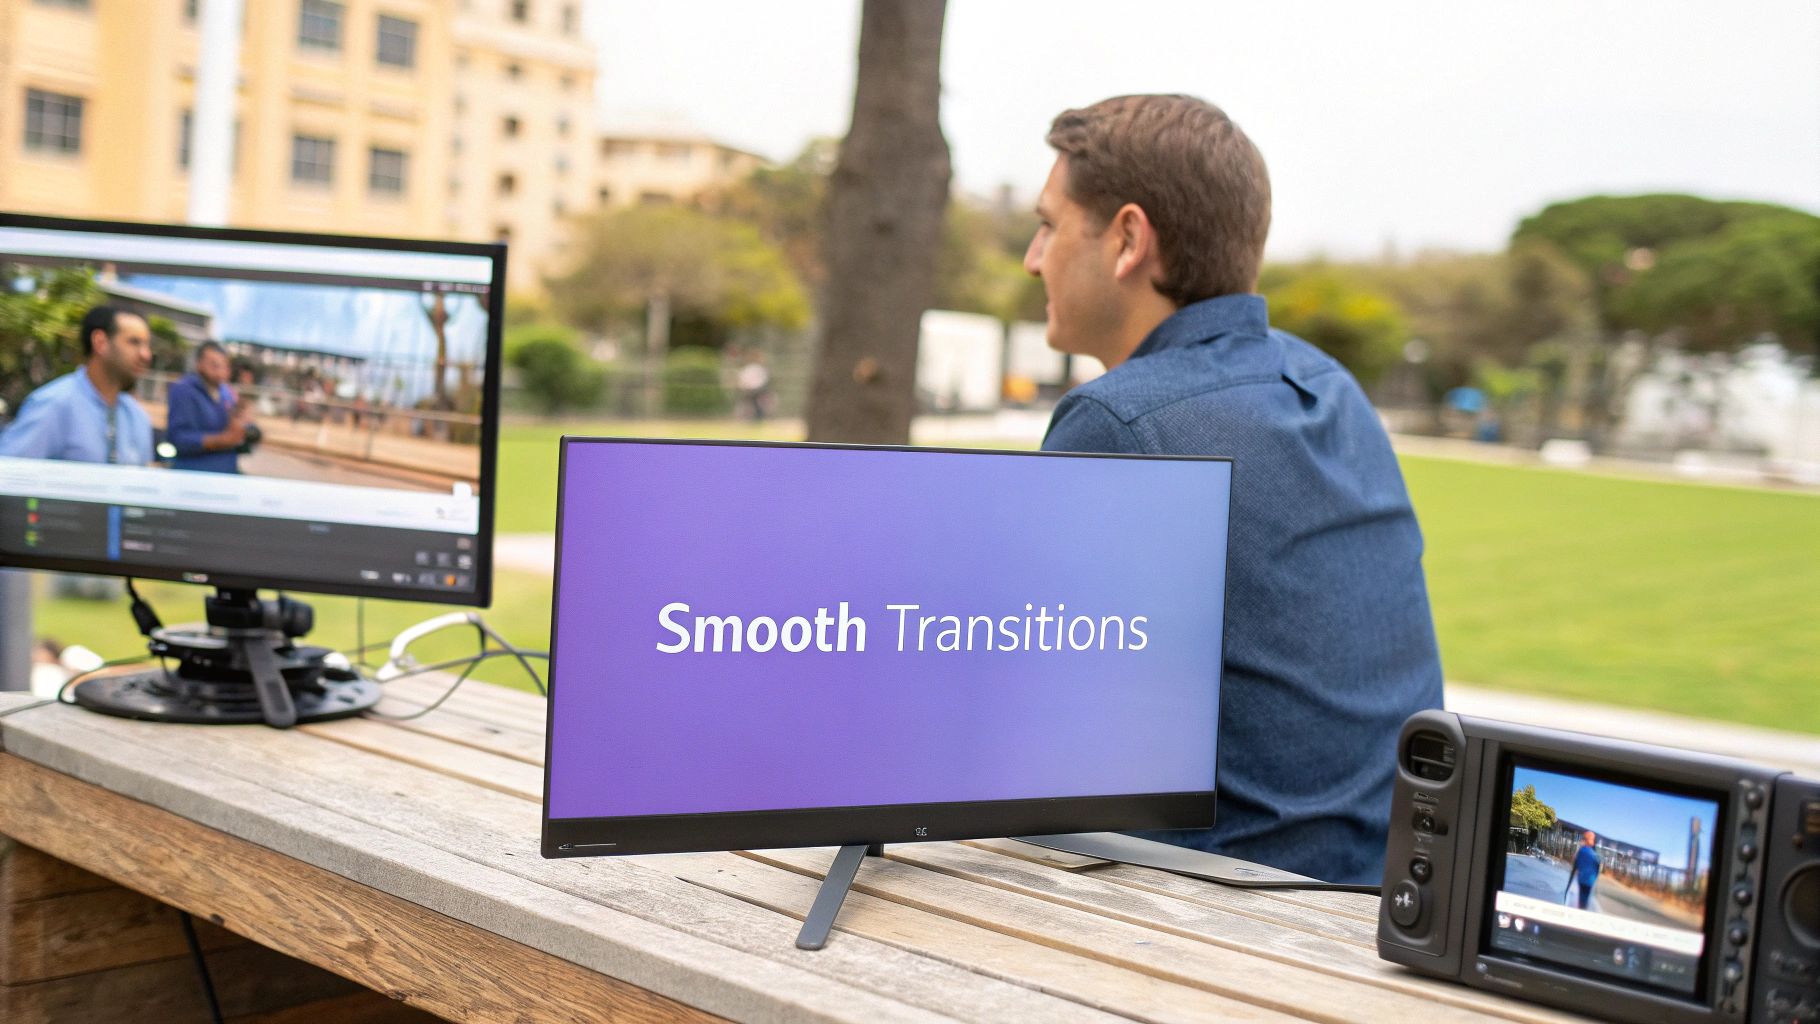
Using Transitions to Guide the Viewer
With your clips lined up, you need to connect them smoothly. Transitions are the glue that holds your story together, guiding the viewer's eye from one shot to the next. While modern software gives you a dizzying array of flashy wipes and spins, you'll find that 99% of professional editing relies on just a few simple ones.
The Hard Cut: This is your workhorse. It’s simply one clip ending and the next one beginning instantly. It's clean, invisible, and what you’ll use most of the time, especially when cutting between different camera angles in the same scene.
The Cross Dissolve (or Fade): This is a gentle fade from one clip into another. It’s a great way to show a passage of time—think transitioning from a daytime shot to a nighttime one. A "fade to black" at the end of your video also provides a classic, cinematic finish.
The J-Cut and L-Cut: These sound technical but are incredibly effective for creating a natural, professional flow. A J-cut is when the audio from the next clip starts before you see the video. An L-cut is the opposite: the audio from the previous clip continues to play over the new shot. Both techniques make your edits feel much smoother and more polished.
Adding Simple Text and Titles
Finally, almost every video can benefit from a little bit of text. This might be a title at the beginning, lower-thirds to introduce a speaker, or captions to make your content accessible on social media. Your editor will have a dedicated text tool that lets you add text layers right on top of your video.
My advice? Keep it simple and readable. Pick a clean, bold font and make sure there's enough contrast with the background video. For that travel montage, you might add text to identify a location. For a tutorial, you could use text to highlight key steps. It's a final layer of polish that makes your video look more professional and much easier for your audience to follow.
Bringing Your Video to Life with Sound and Color
So you’ve arranged your clips into a story. That's a huge step, but the real magic happens now. The finishing touches—specifically sound and color—are what separate a rough cut from a truly polished video. These two elements are your secret weapons for setting the mood, ensuring clarity, and giving your work that professional sheen people instantly recognize.
Getting this right elevates your video from just a series of clips to something that feels intentional and captivating. It’s the final coat of paint that makes the whole project pop.
Getting Your Audio Just Right
Here’s a hard truth I’ve learned over the years: bad audio will kill a good video, fast. Viewers might forgive a slightly grainy shot, but they’ll click away in a heartbeat if they can't hear you clearly. Clean, crisp dialogue should always be your top priority.
Every editing program has tools to adjust audio levels. The first thing I do is go through my timeline and listen for consistency. You want the main speaker's voice to be steady, not jumping from a whisper to a shout. Your audience shouldn't have to ride the volume knob.
Once the dialogue is solid, you can start building a richer soundscape.
- Background Music: This is probably the quickest way to inject emotion into your video. An upbeat track can make a travel sequence feel exciting, while a subtle, low-key melody works wonders for a tutorial. The key is to tuck it under the dialogue, so it supports the speaker without overpowering them.
- Syncing External Audio: If you used a separate microphone—and you should for better quality!—you'll need to sync that audio file to your video. Don't sweat it. Most modern editors have an "synchronize" feature that automatically lines up the audio waveforms. It’s surprisingly easy and makes a world of difference.
- Room Tone: Before you pack up your gear, always record 10-20 seconds of the room's "silence." This is your room tone. You can layer this ambient sound into any gaps in your edit, smoothing over awkward silences and making the entire audio track feel seamless.
A Beginner’s Guide to Color Correction
With your sound locked in, it's time to focus on the visuals. Color correction is the first step, and it’s all about fixing problems. The goal here isn't to create a moody, cinematic look—not yet. It's about making your footage look natural and, most importantly, consistent.
Your primary mission is to make sure all your clips match. If you cut from a dark, shadowy shot to one that’s blown out and bright, it’s jarring. Use your editor’s basic exposure and brightness controls to get everything on the same page.
My Two Cents: Don't just trust your eyes. Our perception of color can be tricky. Learn to use your software’s "scopes," like the Waveform or Vectorscope. These tools give you an objective, technical readout of your video's brightness and color, helping you nail a perfectly balanced image.
Thankfully, essential features like these are no longer reserved for Hollywood pros. With the explosion of content for platforms like YouTube and Instagram, powerful editing tools have become incredibly accessible. You can dig deeper into this trend and see the growth of the video editing market on KBV Research.
Creating a Mood with Color Grading
Once your footage is corrected and clean, you can get creative with color grading. This is where you infuse your video with a specific style to make the audience feel something. Want a scene to feel warm and nostalgic? Push the yellows and oranges. Going for a serious, moody vibe? Add some blues and cooler tones.
For anyone just starting out, LUTs (Look-Up Tables) are a fantastic entry point. Think of a LUT as a color preset. You can drop it onto your footage to instantly get a professional look. It’s a great way to see what’s possible and begin understanding how much color can influence a story.
Editing Faster and Smarter with AI Tools
Let's be honest, modern video editing has a secret weapon: Artificial Intelligence. These tools aren't here to take over your creative vision. Instead, think of them as the ultimate assistant, built to handle the most boring, repetitive parts of the job. This frees you up to focus on what actually matters—crafting a compelling story.
When I first started, tasks like subtitling or finding the best takes felt like a huge time sink. AI completely changes that. It automates the grunt work, which is a massive win, especially if you're just getting into video editing. You can get a polished, professional look without spending hours on tedious manual tasks.
Let AI Handle the Heavy Lifting
One of the first AI features I tell every new editor about is automatic transcription. You just click a button, and the software generates a text version of all your spoken audio. This is an absolute lifesaver for creating captions, which are non-negotiable for social media where most videos are watched on mute. Gone are the days of typing out every single word.
Then there's AI scene detection. Say you have a 10-minute clip of continuous footage from an event. Instead of scrubbing through the whole thing looking for good moments, AI can instantly chop it up into smaller, usable shots. It analyzes the video and makes cuts whenever the scene changes, saving you a ton of time.
AI doesn't just make editing faster; it makes it smarter. By automating the mechanical tasks, it gives you more time and mental energy to invest in the creative side of your project, like pacing and storytelling.
A perfect example is text-based editing. It's an amazing feature where you edit the video by just editing the text transcript. If you want to remove a sentence someone said, you just delete it from the text, and the software automatically cuts that part from the video clip. It's a much more intuitive way to shape a conversation.
Instantly Adapt Your Content for Any Platform
In the past, making a video for different social media platforms meant starting from scratch each time. Not anymore. AI-powered smart reframing has made that whole process nearly effortless.
This brilliant feature can take your horizontal 16:9 YouTube video and automatically reformat it for a vertical platform like TikTok or Instagram Reels. It's smart enough to keep the most important part of the shot—like a person's face—centered in the new frame. It’s a huge time-saver if you want to get more mileage out of your content.
Many tools are now built around this very idea. If you're churning out a lot of short-form content, it's definitely worth exploring some of the best AI video makers for TikTok, as they're designed to make this process as smooth as possible.
Getting Your Video Out Into the World: The Final Export
You’ve done the hard work. The story is there, the sound is just right, and your visuals look great. Now it's time for that final, crucial step: exporting. This is where you package everything up so it looks just as good on YouTube or Instagram as it does on your timeline.
Don't treat exporting as an afterthought. Messing up the settings here can turn your beautiful video into a pixelated mess or create a file so enormous it takes an eternity to upload. Think of it like this: you've baked a perfect cake, and now you need the right box to deliver it safely.
Decoding the Export Menu
When you hit the "Export" button in your software, you’re usually met with a screen full of technical jargon. It can feel a bit intimidating, but honestly, for 99% of what you'll do, you only need to get a few key settings right.
Here’s what you actually need to know:
- Container (Format): This is just the file type, like .MOV or .AVI. Your best bet, almost every single time, is MP4. It’s the universal language of video—it works on every social platform and plays on virtually any phone or computer without a fuss.
- Codec: This is the magic that compresses your video. You want to stick with H.264 (sometimes called AVC). It’s the industry standard for a reason, giving you an excellent balance between sharp quality and a file size that won't give you a headache.
- Bitrate: This setting directly controls video quality and file size. A higher bitrate means better quality and a bigger file. For a standard 1080p HD video meant for YouTube, a bitrate between 8 and 12 Mbps is a perfect starting point.
The secret to a great export is finding that sweet spot. You're aiming for the best quality you can get without ending up with a gigantic file that takes forever to upload and forces your viewers to buffer. The H.264 codec inside an MP4 container is the tried-and-true recipe for success.
One Last Look: Your Pre-Export Checklist
Before you commit and click that final export button, take just 60 seconds to run through this quick list. It's a small habit that can save you the massive frustration of having to re-render your entire project over a tiny mistake.
- Give it one final watch. I mean it. From the very beginning to the very end, without touching the mouse. Listen for any weird audio pops and watch for visual glitches you might have become blind to.
- Check your audio levels. Is the background music drowning out the person speaking? Does the volume suddenly jump? This is your last chance to fix it and give your audience a smooth listening experience.
- Proofread all your text. Seriously. Re-read every title, caption, and on-screen graphic. A single typo can instantly make a polished video feel unprofessional.
After you've exported your masterpiece, keeping your files organized is the next challenge. Knowing where your final versions are and how to find them later is just as important as the creation process itself. To get a handle on this, check out our guide on video asset management—it's full of tips that will save you from future headaches.
Frequently Asked Questions About Video Editing
https://www.youtube.com/embed/n6HC__qvV9Q
It's totally normal to have a ton of questions when you're just starting out with video editing. I've been there! To help you get past those first few roadblocks, here are some answers to the most common questions I hear from newcomers.
What’s the Easiest Video Editing Software for a Total Beginner?
If you're brand new to all of this, my top recommendations are CapCut or iMovie if you're on a Mac. These tools are fantastic because they were built for simplicity. You won't be staring at a million buttons and menus, wondering where to even begin.
Instead, they let you focus on what really matters: learning the art of storytelling. You can get straight to making cuts, adding a soundtrack, and putting your clips in an order that makes sense, all without fighting the software.
Getting started is all about building confidence. The easiest software is the one that lets you jump in and start creating right away, turning your raw ideas into a finished video with the least amount of friction.
Do I Need a Powerful Computer for Video Editing?
Here's some good news: you almost certainly don't need a beast of a machine to get started. While a more powerful computer makes things smoother, most modern laptops can easily handle basic 1080p video editing, which is exactly what you need for social media or your first YouTube videos.
If you notice your computer is starting to lag or stutter during playback, there's a trick that even pros on high-end systems use: creating proxy files. Think of these as temporary, low-resolution copies of your footage. They make the editing process feel snappy and responsive. When you're ready to export, the software automatically switches back to the original high-quality files for the final video.
How Long Does It Really Take to Learn?
Honestly, you can learn the absolute essentials—like trimming clips, adding a music track, and exporting—in just an afternoon. A few dedicated hours is all it takes to get that first video done.
From there, getting comfortable enough to edit a polished vlog or a sharp-looking social media clip might take a few weeks of practice. Like any skill, becoming a true master takes time, but the journey from beginner to feeling confident is much shorter than most people think. The secret is just to keep doing it.
Ready to skip the learning curve and create high-performing video ads in minutes? With Sprello, our AI-powered platform does the heavy lifting for you, turning your existing assets into engaging UGC-style videos without needing complex software or actors. Start your free trial at Sprello.ai and see how easy video creation can be.


