

Before we jump into the "how-to" of recording a voice over, let's talk about the why. A great voice over is so much more than just reading a script over some footage. It’s the secret ingredient that can take a video from feeling a bit amateurish to looking like a polished, professional piece of content that actually grabs and holds people's attention.
Why a Great Voice Over Changes Everything
Think of a powerful voice over as the invisible guide leading your viewer through your video. It's often the deciding factor between a video that gets skipped in the first 10 seconds and one that keeps someone hooked right to the end.
Honestly, it's about building a bridge of trust. When your narration is clear, confident, and engaging, your message instantly feels more credible and is way easier for your audience to digest.
This is a game-changer, especially if you're explaining something complex. A well-paced voice over can break down tricky concepts into simple, bite-sized pieces. A software tutorial with calm, clear instructions is a perfect example—it's infinitely more helpful than one that just relies on a bunch of on-screen text.
From Amateur to Authoritative
The quality of your audio says a lot about your brand. Crisp, clean sound screams professionalism and attention to detail. On the flip side, muffled, echoey audio can make even the most stunning visuals feel cheap. That first auditory impression is critical.
A voice over doesn't just explain what's happening on screen. It breathes life and personality into your video, making your brand feel more human, relatable, and much easier to remember.
Here’s what a solid voice over really does for you:
- Boosts Viewer Retention: An engaging voice keeps people watching longer. That's a huge green flag for platforms like YouTube.
- Builds Audience Trust: A clear, confident tone helps establish you as an expert, making viewers more likely to buy into what you're saying.
- Increases Accessibility: Voice overs open up your content to people with visual impairments and those who'd rather listen while multitasking.
At the end of the day, getting good at voice overs is a core skill for anyone creating content today. For brands that want to win with video, it's not just a nice-to-have; it's essential. If you're looking for more ways to make your videos stand out, our guide to small business video marketing is packed with more strategies. Putting a little effort into your audio ensures your message isn't just seen, but truly heard.
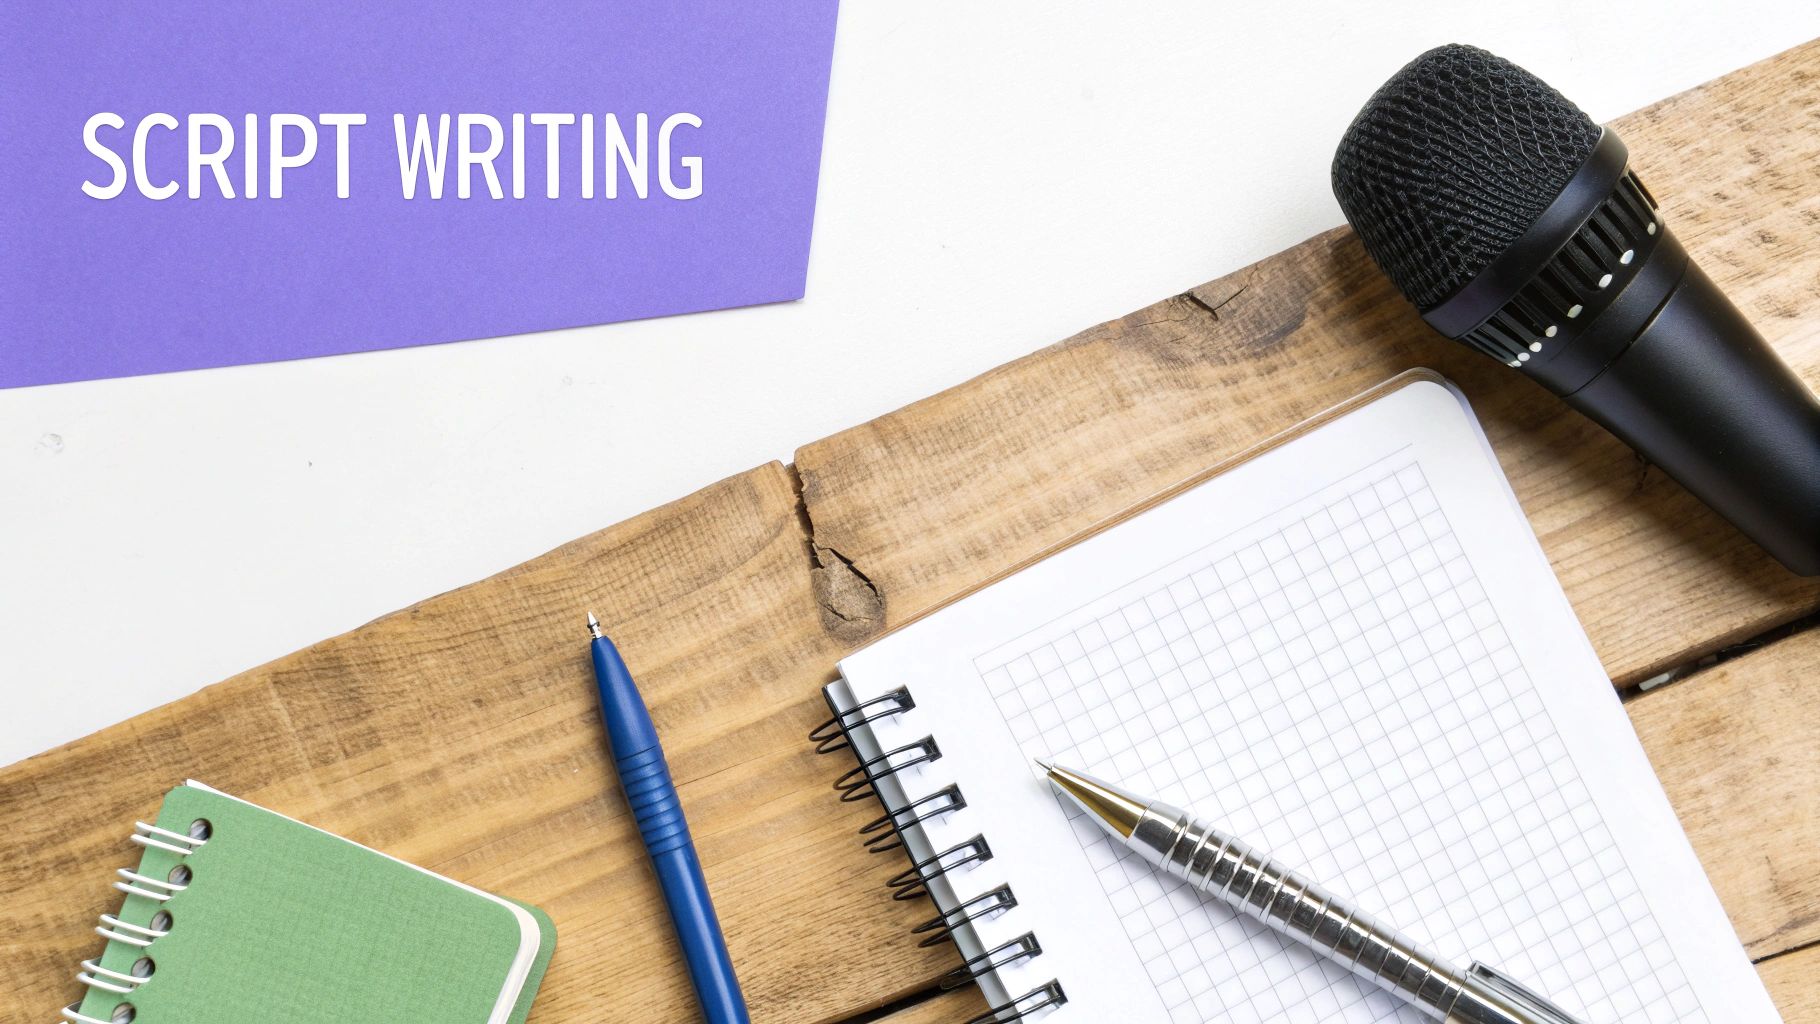
Crafting a Script That's Made to Be Heard
A great voiceover isn't magic. It all starts with a script that’s written to be heard, not just read. So many people make the same mistake: they simply read a chunk of text that sounds more like a stuffy report than a real conversation.
This is your chance to stop being a writer and start being a performer. The goal is a script that flows naturally, almost like you’re just talking. That means ditching the jargon, keeping sentences punchy, and adopting a more personal tone.
Your script is your roadmap. Before you even think about hitting the record button, your words on the page should already feel like a conversation you’d have with a friend.
Writing for the ear is its own art form. It's all about breaking down big ideas into bite-sized phrases you can say in a single breath. A great trick is to read your lines out loud as you write. If you find yourself stumbling or gasping for air, your sentence is too long. Chop it up.
Write Like You Talk
The secret to a script that truly connects is authenticity. You want to sound like a real person, not a text-to-speech bot.
Just imagine explaining your topic to someone over coffee. You’d use contractions like “it’s” and “you’ll,” and you’d probably start sentences with “But” or “So.” All of that is fair game—in fact, it's encouraged—in a voiceover script.
For instance, you'd never say this in real life:
- "It is imperative for users to first initialize the primary software configuration before proceeding with the subsequent steps."
You'd say something more like this:
- "First, you'll need to set up the software before you can move on."
See the difference? The second one is instantly clearer and more human. This simple shift makes your content far more engaging. And if you're looking to speed up the drafting process, you can even explore tools like AI script writers like Sudowrite and Subscribr.
Prepare for Your Performance
A solid script gives you more than just the words—it guides your delivery. Marking up your script before you record can make a massive difference. It turns a piece of paper into a performance guide.
Here are a few practical tips I always use:
- Underline or bold words you want to hit a little harder. This adds emphasis and emotion right where you need it.
- Use slashes ( / ) to mark natural pauses. This is a lifesaver for getting your pacing just right.
- Jot notes in the margins like
(slow down)or(smile here). You'd be amazed how a simple reminder to smile can change your entire vocal tone.
This little bit of prep work is what separates a decent recording from a truly professional one.
And this skill is more in-demand than ever. Data shows that 52% of companies are planning to use voiceovers in their marketing. Plus, with 58% of content buyers needing voices in languages other than English, a clear, adaptable script is a golden ticket. Taking the time to craft a script that’s truly meant to be heard will put you ahead of the game.
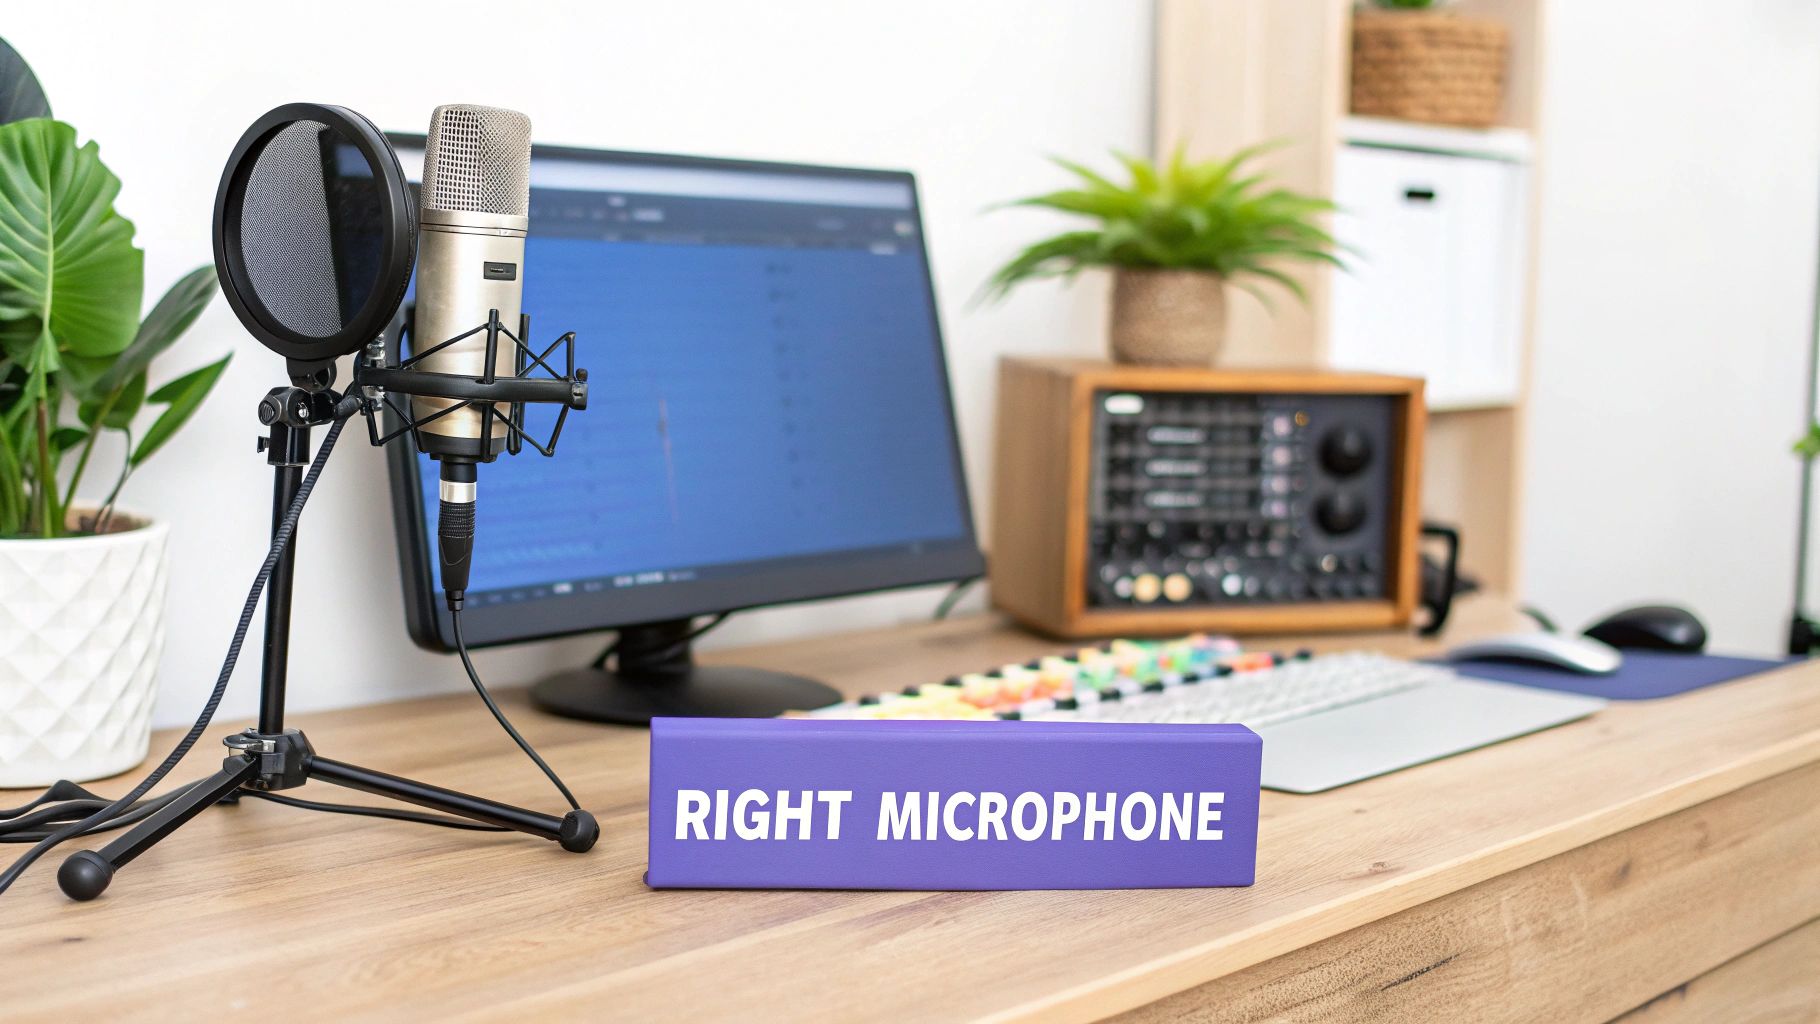
Setting Up Your Home Voice Over Studio on a Budget
Let's clear up a common myth: you absolutely do not need a soundproof, professional studio to record incredible voice overs. I've heard broadcast-quality audio that was recorded in a closet! With a few smart gear choices and some clever tricks, you can get a pro-level sound right from home.
It all starts with your microphone. This is the heart of your setup, and you'll mainly see two types: USB and XLR. For most people starting out, a USB mic is the way to go. It plugs right into your computer, it's simple to use, and you can get fantastic results.
XLR mics are what you see in pro studios. They require a separate piece of gear called an audio interface to connect to your computer, offering more control and often a slight edge in quality down the line. But honestly, a top-tier USB condenser mic like the Blue Yeti or Rode NT-USB+ is a brilliant investment that will serve you well for years.
Choosing Your First Voice Over Microphone
Picking the right microphone can feel overwhelming, but it boils down to what works best for your space and workflow. Here’s a quick comparison to help you decide.
| Microphone Type | Best For | Pros | Cons |
|---|---|---|---|
| USB Condenser | Beginners, podcasters, YouTubers, simple home setups. | Plug-and-play simplicity. No extra gear needed. Very affordable. | Less flexibility for upgrades. Quality can vary on cheaper models. |
| XLR Condenser | Aspiring professionals, musicians, those wanting more control. | Superior sound quality and sensitivity. Can be upgraded piece by piece. | Requires an audio interface and XLR cable. More complex setup. |
| Dynamic | Noisy environments, live streaming, broadcasting. | Excellent at rejecting background noise. Very durable. | Less sensitive, so you need to be closer to the mic. Not ideal for nuanced narration. |
For most video voice overs, a good USB or XLR condenser mic is your best bet. They capture the rich detail in the human voice beautifully.
Turn Your Closet into a Recording Booth
Here’s a secret: the most expensive microphone in the world will sound awful in a bad room. Your recording space is just as crucial as your gear. The enemy here is reverb—that echoey, bathroom-like sound that happens when your voice bounces off hard surfaces.
You don't need to buy expensive acoustic foam. Just find a small space, like a walk-in closet, and get creative with things you already own.
- Hang thick blankets, towels, or duvets on the walls.
- Toss pillows and cushions in the corners and on the floor.
- Your clothes hanging in the closet are natural sound absorbers!
This simple, no-cost setup creates a "dead" space that soaks up reflections, giving you that clean, focused vocal sound you hear in professional productions.
This handy infographic lays out the key things to keep in mind when you hit record.
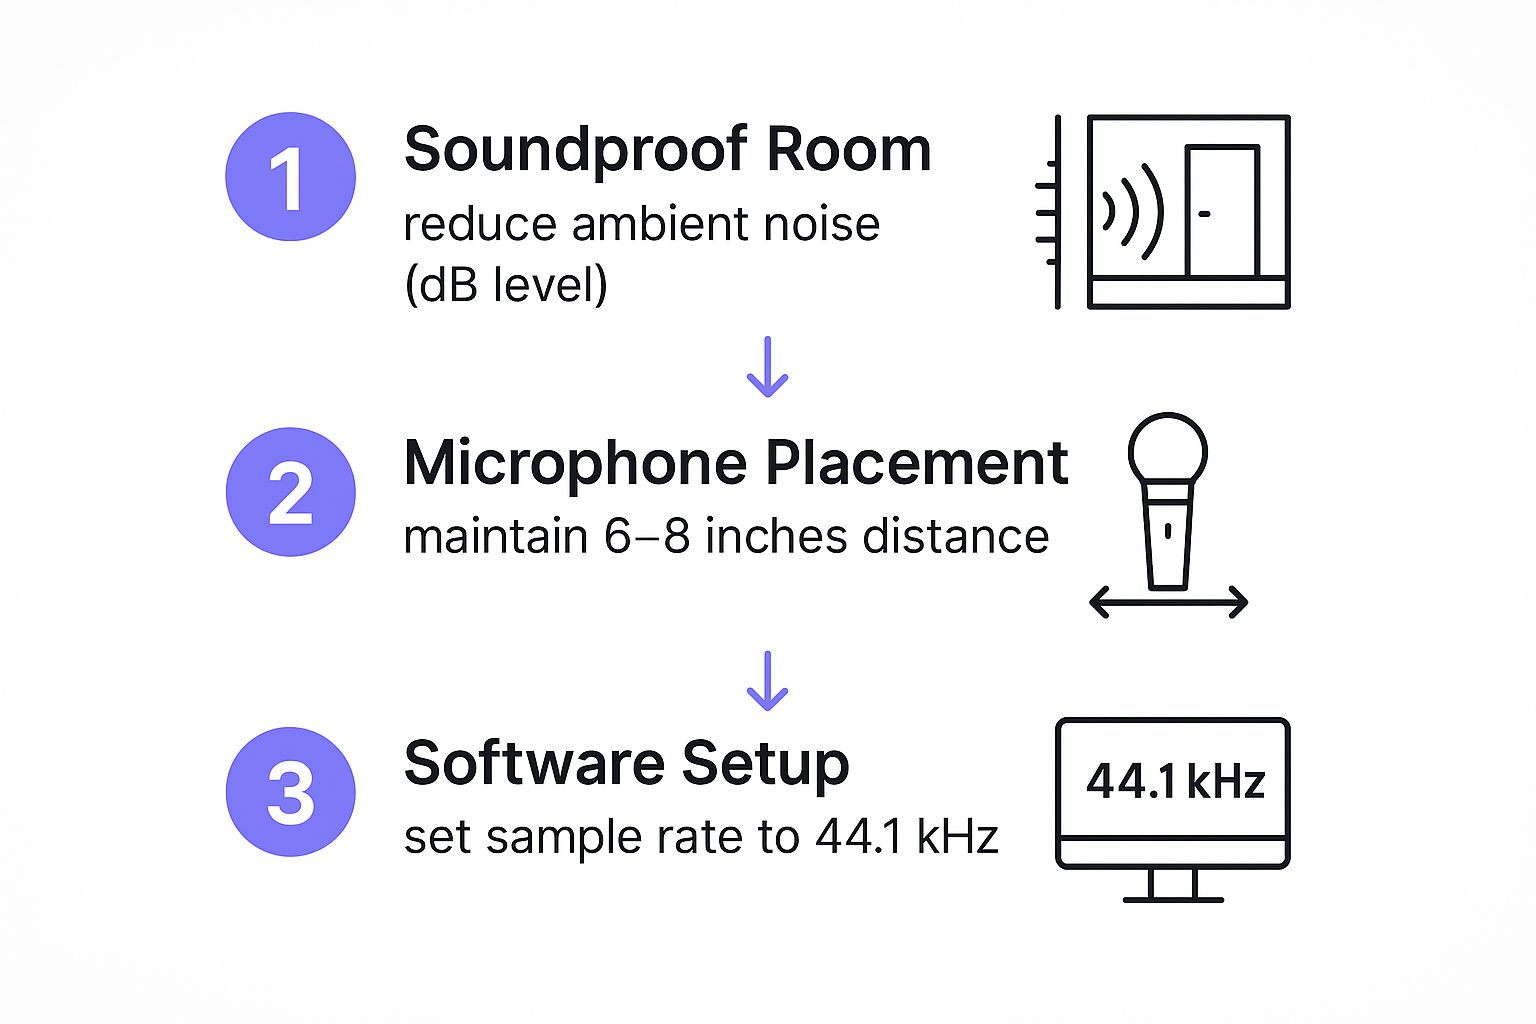
As you can see, it’s a combination of controlling your environment, managing your mic position, and getting your software levels right before you start talking.
Two Small Accessories That Make a Huge Difference
Beyond the mic, there are two cheap accessories that are non-negotiable. Seriously, don't skip these. They prevent the most common audio problems at the source, saving you headaches in the editing phase.
First up is a pop filter. It’s that little mesh or metal screen that sits in front of the mic. Its only job is to stop the burst of air from your "p" and "b" sounds—what we call plosives—from hitting the mic and creating a distorted "pop." It's a simple fix for a very amateur-sounding problem.
The second must-have is a shock mount. This is a special cradle that suspends your microphone and isolates it from any vibrations. Without one, every accidental bump of your desk, tap of your foot, or even a heavy truck driving by can travel up the mic stand and ruin a perfect take.
A pop filter and a shock mount are your first line of defense against bad audio. Spending a few extra dollars on these will instantly make your recordings sound more professional and cut your editing time down dramatically.
By getting these three things right—a good mic, a treated space, and these key accessories—you’ll have a home setup that can produce clean, crisp, and professional-sounding voice overs for any video project you tackle.
Getting a Natural Performance on Mic
You’ve got your script, your space is prepped, and now it's time for the real magic. Delivering a great performance is less about reading words and more about connecting with your listener. That natural, conversational feel is what truly makes a video resonate.
Let's start with your relationship with the microphone. For most condenser mics, you'll want to stay about 6 to 8 inches away—think the distance of a handspan. This is the sweet spot. It picks up the full, warm tone of your voice without catching every little breath or those harsh "p" and "b" sounds (known as plosives).
Here's a pro tip: stand up. It might feel a bit strange at first, but recording on your feet opens up your diaphragm, improves your posture, and injects a surprising amount of energy into your voice. You'll sound more engaged simply because your body is more engaged.
Find Your Real Voice
The goal here is to sound like a person talking, not a machine reading. An authentic performance creates an immediate bond with your audience. It’s that human touch that makes all the difference, and it's why real voices are still so highly valued.
Even as technology barrels forward, the demand for genuine human connection remains. For example, while many are exploring tools to create AI video ads, industry data shows a clear preference for human talent. In fact, 58% of clients are specifically looking for human voice artists who can work across multiple languages, a testament to the need for cultural nuance and emotional depth that AI just can’t replicate yet. Authenticity is still king.
Master Your Pacing and Delivery
Your pacing is everything. It's the rhythm that guides your listener through the story. If you rush, you'll lose them. If you go too slow, you risk sounding boring.
The key is variety. When you're explaining a tricky concept, slow down a bit to let the information sink in. When you want to convey excitement, pick up the pace slightly. And don't underestimate the power of a good pause. A moment of silence before a key point can add incredible weight and build anticipation.
A little imperfection can be a good thing. A small laugh, a natural pause to think, or a slight crack in your voice can make your delivery feel more real and relatable than a perfectly sterile, robotic take.
When it comes to workflow, there are two main paths people take:
- Audio-First: You record the entire voiceover first, then edit the video clips to match the narration. This is perfect for tutorials or explainer videos where the voiceover drives the content.
- Video-First: You edit the video completely, then record your narration while watching it. This approach works best for documentary-style projects where the voiceover needs to sync perfectly with the on-screen action.
There's no single "right" way to do it. Experiment with both methods and see which one helps you feel the most comfortable and confident. That's how you'll unlock your most engaging performance.
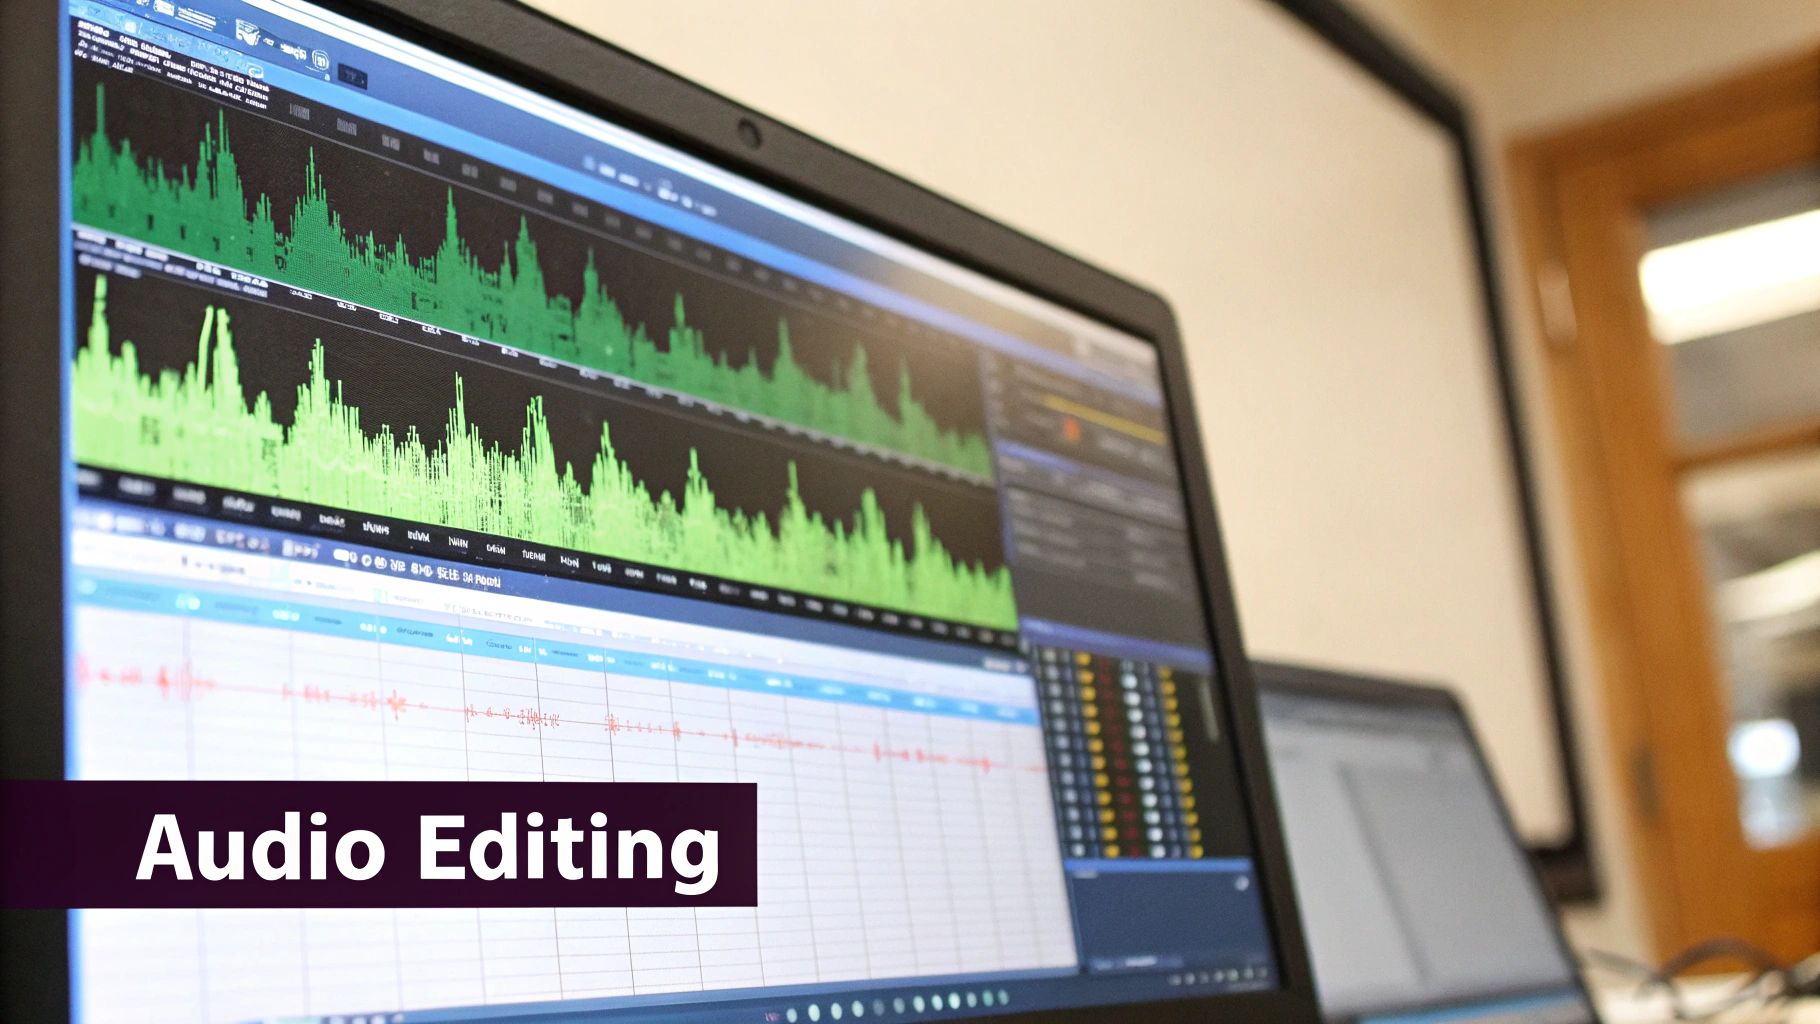
Editing Your Audio for a Professional Finish
Getting your voice recorded is a big step, but don't pop the champagne just yet. That raw audio file is just the starting point. The real work—and the real magic—happens in the edit, where you polish that recording until it shines.
Think of your raw audio as a rough diamond. Post-production is how you cut and facet it into something that sparkles in your final video. The good news is you don't need a high-end studio; a free tool like Audacity has all the power you need to get started.
Cleaning Up Your Takes
First things first, let's clean house. Your initial editing pass is all about getting rid of the obvious junk. I’m talking about the coughs, the stumbles over words, and those long, awkward silences where you lost your train of thought.
You have to be a little ruthless here. The goal is a clean, seamless narrative. Listen through the entire track from start to finish and use your editor's cut or silence tool to snip out anything that makes the listener's ear stumble. A clean track is a distraction-free track.
My Go-To Tip: Don't just delete breaths. When you cut them out completely, the audio can sound sterile and unnatural. Instead, I just lower their volume. Find the "Amplify" or "Gain" effect in your editor and turn the breaths down significantly. This keeps the recording sounding human and real.
Removing Unwanted Background Noise
No matter how quiet you think your room is, your mic is listening. It hears the hum of your computer, the buzz from a light, or the faint rumble of the air conditioner. This constant, low-level sound is what we call the noise floor.
Thankfully, getting rid of it is surprisingly simple. Most audio editors have a "Noise Reduction" feature that works in two steps:
- Capture the Noise Profile: Find a few seconds of "silence" in your recording where it's just that background hum. Highlight it and tell the software, "This is the sound I want to remove."
- Apply to the Track: Now, select your entire voiceover and apply the effect. The software intelligently subtracts that specific hum from your entire recording without messing with your voice.
This one step alone can make your audio sound dramatically more professional.
Balancing Your Vocals with Compression and EQ
Okay, now for the fun part. This is where you get that rich, full "radio voice" sound. The two workhorses here are Compression and EQ.
Compression: This tool is your secret to a consistent volume. It automatically turns down the parts where you got a little too loud and boosts the parts where you were a bit too quiet. The result? A smooth, balanced vocal that’s much easier on the ears.
EQ (Equalizer): Think of EQ as a tool for shaping the tone of your voice. You can use it to cut out any muddy, low-end rumble or to add a little sparkle and clarity to the high-end. This is crucial for helping your voice slice through background music and sound effects.
If you really want to level up your post-production game, digging into some dedicated tutorials is time well spent. For more advanced techniques and tools, I often point people toward Moonb's editing resources.
Normalizing and Mixing for Final Delivery
We're in the home stretch! The last couple of steps are about getting your audio ready for the big stage.
Normalization is the simple process of bringing your entire audio track up to a standard loudness. This ensures your voiceover won’t sound whisper-quiet next to other videos on YouTube or social media.
Finally, it's time to mix. You'll layer your polished voiceover with your chosen background music or sound effects. The golden rule is balance. Your voice must always be the star of the show. A trick I always use is to set my music to a good level, and then drop it by another 30-50% the moment my voice comes in. This technique, known as "ducking," guarantees your words are always front and center.
Polished audio isn't just a "nice-to-have" anymore; it's a necessity. The global voice-over market was valued at a staggering USD 4.2 billion in 2024 and is on track to hit USD 8.6 billion by 2034. That explosive growth shows just how vital great audio is. You can learn more about these voice over market trends and how they're shaping modern media.
And if you're looking to integrate great voice work into a more automated workflow, check out our guide on how to create AI video ads for tips on making it all work together.
Got Questions About Voice Overs? Let's Get Them Answered
Even after you've got the basics down, a few tricky questions always seem to pop up. Let's walk through some of the most common ones I hear from people learning how to add voice overs to their videos.
How Can I Make My Voice Sound More Confident?
Confidence in your voice comes down to a mix of practice and physical technique. First off, you need to know your script inside and out. Don't just read it; internalize it. This frees you up to focus on how you're saying things, not just what you're saying.
A simple trick I swear by is standing up when you record. It naturally opens up your diaphragm and improves your breath control, which immediately injects a bit more power and energy into your voice.
And here's another one that might feel weird at first: try smiling when you deliver certain lines. Seriously. It subtly changes your vocal tone, making you sound warmer and far more engaging. Also, remember to vary your pitch and pace. Nobody wants to listen to a robot. Just talk like you're explaining something you find fascinating to a good friend.
The real secret isn't having a "perfect" voice. It's delivering your lines in a way that feels genuinely human. A connected, authentic tone with a few minor quirks will always resonate more than a flawless but robotic reading.
What’s the Best Free Software for Recording Voice Overs?
If you're just starting and don't want to spend a dime, Audacity is the go-to answer, and for good reason. It’s completely free, runs on Mac, Windows, and Linux, and has every essential feature you could need—from recording and basic editing to more advanced tools like noise reduction, compression, and EQ. You can get truly professional-sounding results with it.
For those who want everything in one place, the free version of DaVinci Resolve is fantastic. It's a full-blown video editor that comes with Fairlight, an incredibly powerful audio post-production suite. If your needs are simpler, tools like CapCut also have surprisingly decent built-in voice recorders for quick jobs.
Should I Record My Voice Over Before or After Editing the Video?
Ah, the classic chicken-or-the-egg question of video production. The truth is, there's no single right answer—it all depends on the type of video you're making.
Audio-First (The "Narration Drives" Method): Here, you record your complete voice over first. Then, you edit your video clips to match the timing and flow of your narration. This is perfect for explainer videos, tutorials, and presentations where the information is the star.
Video-First (The "Visuals Lead" Method): With this approach, you edit your video into a final visual story first. Once the picture is locked, you write and record a script that complements what's happening on screen. This works beautifully for cinematic pieces, vlogs, or documentary-style content.
My best advice? Try both. Work on a tutorial using the audio-first method, then tackle a more visual project with the video-first approach. You'll quickly figure out which workflow feels more intuitive for you.
If you're looking to dive deeper, you can always explore more voice over resources. Finding helpful guides from experienced creators can make the learning process a whole lot smoother.


