
In 2026, creating high-converting video content isn't just about having great ideas; it's about having a repeatable, efficient system. Too many creators and brands get stuck in a chaotic cycle of last-minute scripting, endless reshoots, and inconsistent results that fail to connect with their audience. The problem isn't a lack of creativity; it's the absence of a structured workflow that guarantees quality and consistency. When every project starts from scratch, you waste valuable time on preventable errors and missed opportunities.
This guide provides a definitive 10-step content creation checklist designed to streamline every phase of production, from initial concept to final export. It's built to eliminate the guesswork and transform your process into a well-oiled machine. By following these steps and integrating AI-powered tools like Sprello, you can eliminate bottlenecks, test more ideas, and consistently ship polished content that performs. To truly fix broken workflows and make your efforts sustainable, understanding how to scale content creation is essential.
Whether you're scaling ad campaigns for an e-commerce brand or building an organic presence for a startup, this checklist is your new blueprint for predictable, high-impact content. We will cover everything from defining your audience and scripting your message to generating AI assets and optimizing for every platform. Forget the chaos. It’s time to build, launch, and measure with a system that works.
1. Define Target Audience & Campaign Objectives
Before you write a single script or record a second of video, the most critical step in any effective content creation checklist is defining who you are talking to and what you want them to do. This foundational step ensures every creative decision, from the hook to the call-to-action, is purposeful and aligned with your business goals. It’s the difference between creating content that simply exists and creating content that converts.

Without this clarity, you risk wasting resources on content that fails to resonate. For a direct-to-consumer (D2C) brand, this might mean creating separate audience personas for first-time visitors versus loyal repeat customers. An e-commerce business focused on return on ad spend (ROAS) will define its audience by purchase intent and past buying behavior to maximize conversions.
How to Implement This Step
Start by creating 3-5 core audience personas. Document their demographics (age, location), psychographics (values, interests), and specific pain points your product or service solves. Next, set a single, primary Key Performance Indicator (KPI) for your campaign. Is your goal to maximize click-through rate (CTR), boost conversion rates, or increase brand awareness through view-through rates?
Key Insight: A clear objective simplifies every subsequent decision. If your goal is conversions, your content will focus on product benefits and a strong call-to-action. If it's engagement, you might prioritize storytelling and interactive elements.
Here are a few actionable tips to get started:
- Review Platform Analytics: Use the native analytics on platforms like TikTok, Instagram, and YouTube to understand the demographics and behaviors of your current followers.
- Define a Primary Goal: Before creating content, decide on one main goal. This prevents your message from becoming diluted with multiple, conflicting calls-to-action.
- Utilize AI for Personalization: Leverage tools that can tailor messaging based on audience inputs. For instance, Sprello's audience-aware script generation can automatically create script variants that speak directly to the unique pain points of each defined segment, saving you time and improving relevance.
For a deeper dive into structuring your strategy, a comprehensive marketing campaign planning template can provide the framework needed to connect your audience insights directly to your campaign objectives.
2. Research & Validate Hook/Opening Strategy
With viewer attention spans shorter than ever, the first three seconds of your content determine its fate. An effective content creation checklist must prioritize the hook, the opening line or visual that stops a user from scrolling. This is your single best chance to capture interest, signal relevance, and convince a viewer that your content is worth their time, which is critical for satisfying platform algorithms that favor high initial retention.
Without a validated hook, even the most valuable content will go unseen. For a SaaS startup, this might mean opening with a bold claim like, "We cut our customer acquisition cost by 70% using this one tool." An e-commerce brand could use a pattern interrupt hook to address a common pain point: "Stop scrolling if you've ever wasted money on skincare that doesn't work."
How to Implement This Step
Start by researching top-performing content in your niche to identify recurring hook formulas. Analyze what grabs attention, whether it's a surprising statistic, a direct question, or a visual pattern interrupt. Then, brainstorm 5-10 hook variations for your own content idea before committing to a script. The goal is to move from guessing what might work to testing what actually resonates with your specific audience.
Key Insight: The best hook is a promise. It promises a solution, an insight, or entertainment. If your content delivers on that initial promise, you build trust and increase the likelihood of a conversion.
Here are a few actionable tips to get started:
- Analyze Competitor Hooks: Use platform search features on TikTok and Instagram Reels to find top videos in your vertical. Document the first three seconds of the 10 most-viewed videos to identify patterns.
- Create Curiosity Gaps: Frame your hook as a question or an incomplete statement that your content will answer. For example, "Everyone's doing this marketing tactic wrong; here's the real way to..."
- Leverage AI for Variation: Use AI tools to rapidly generate and refine hook ideas. Sprello's hook generator, for instance, can create multiple compelling openings based on your core message, allowing you to quickly test different angles and find the most effective one for your campaign.
For a deeper understanding of how to structure compelling narratives, exploring copywriting frameworks popularized by experts like Russell Brunson can provide a solid foundation for crafting hooks that consistently stop the scroll.
3. Develop Script & Messaging Framework
With your audience defined and objectives set, the next item on your content creation checklist is to translate that strategy into a compelling script. This is where your core message takes shape, creating a framework that delivers the hook, builds interest, provides value, and drives action. A well-structured script ensures every word serves a purpose, bridging the gap between your brand’s intent and the viewer’s experience.
Without a clear messaging framework, content can feel disjointed and fail to land its key points, leading to low engagement and poor conversion rates. For a B2B SaaS company, a script might follow a problem-solution format: hook with a common industry pain point, showcase a customer success story, demo a key feature, and end with a free trial call-to-action (CTA). In contrast, a fashion brand might use a trend-focused hook, demonstrate how their product fits the trend, and guide viewers to a "link in bio" to shop the look.
How to Implement This Step
Begin by outlining your script in distinct sections: Hook, Bridge, Value Proposition, and CTA. This structure works for nearly any platform, from a 15-second TikTok to a 2-minute YouTube short. Write in a conversational tone, using short, simple sentences that are easy to understand when spoken. The goal is to write for the ear, not the eye.
Key Insight: A strong script is a blueprint for the entire video. It not only guides the dialogue but also informs visual cues, pacing, and on-screen text, ensuring a cohesive final product.
Here are a few actionable tips to get started:
- Structure in Beats: Break your script into 15-30 second "beats" or segments. This makes it easier to adapt the content for different platform length requirements.
- Include Visual Cues: As you write, add notes for visual elements directly in the script, like
[Show product unboxing]or[On-screen text: 3 Key Benefits]. This helps seamlessly integrate the script with storyboarding tools. - Create Messaging Variations: Develop 2-3 different script versions to test various angles. You could test a pain-point-driven hook against a benefit-driven one to see which performs better with your audience.
To build a consistent and powerful voice, developing a complete brand messaging framework can provide the guidelines needed to keep all your scripts aligned with your brand's core identity.
4. Plan Visual Storyboard & Scene Composition
Once your script is locked in, the next crucial step in your content creation checklist is to translate those words into a visual blueprint. A storyboard maps out every scene, shot, and transition before you ever hit record. This proactive step ensures your final video is cohesive and visually engaging, bridging the gap between your written script and the dynamic content you plan to produce.
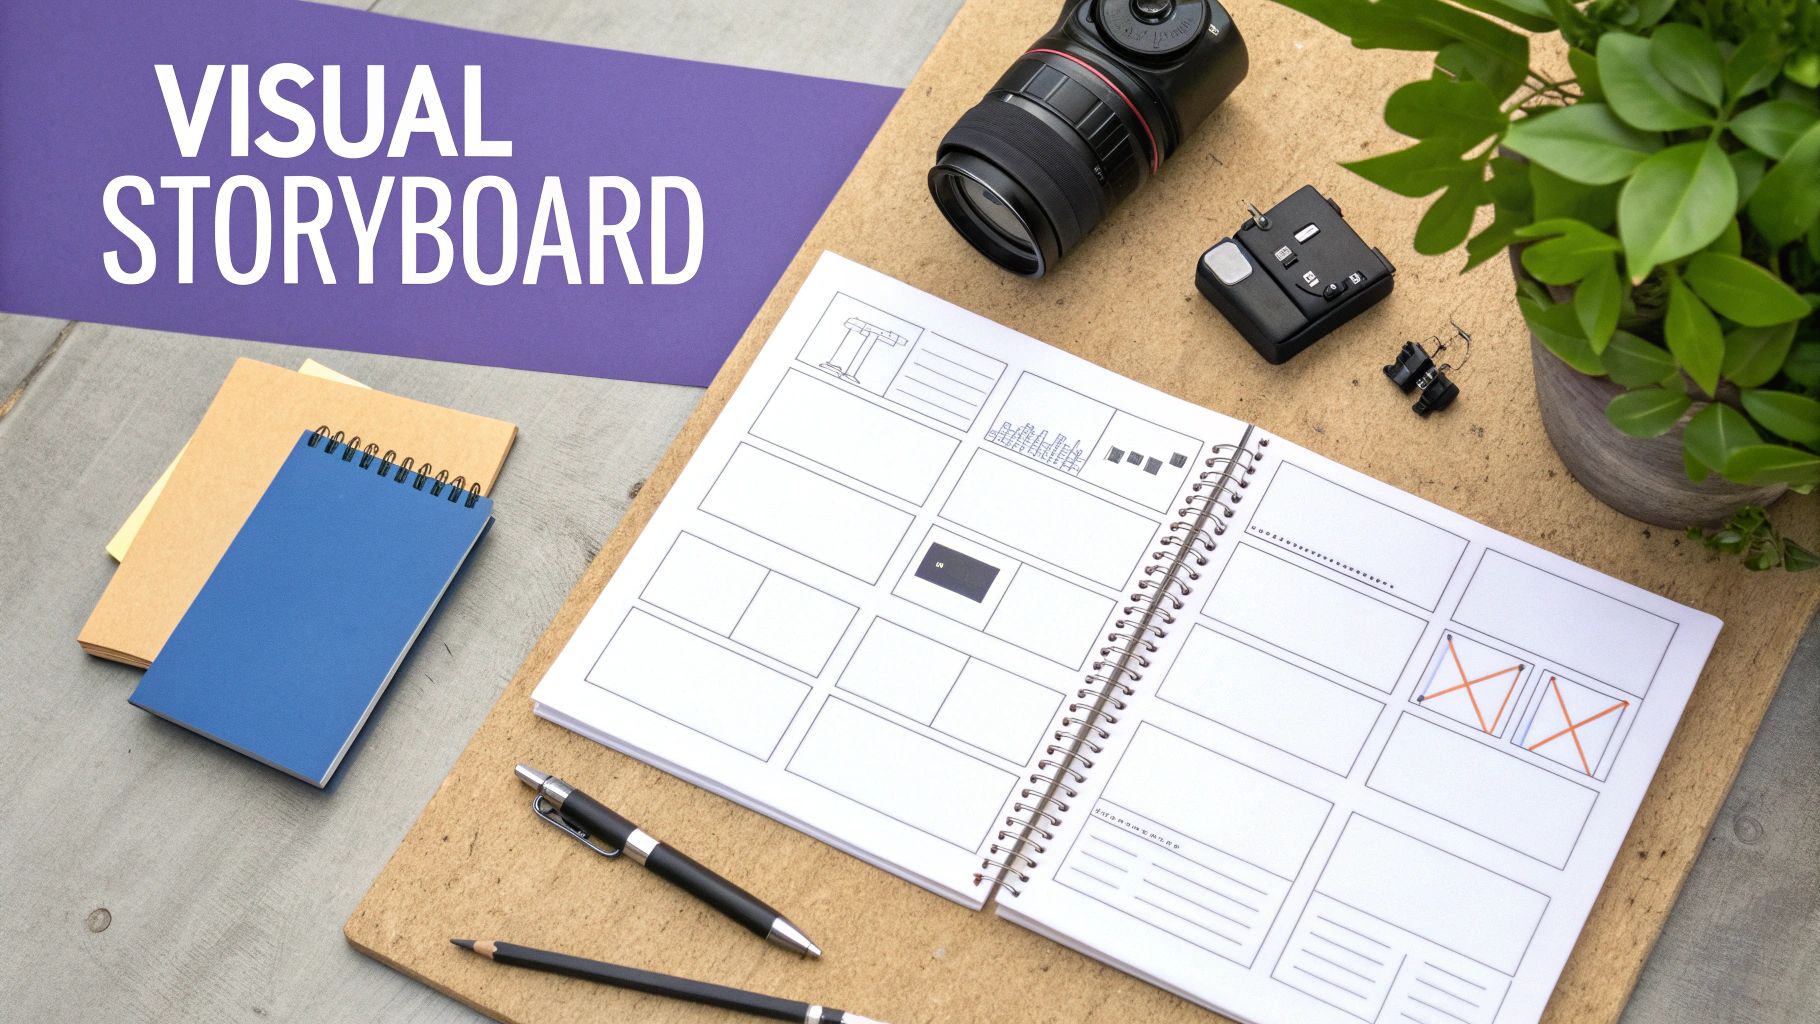
Without a visual plan, production becomes chaotic, leading to mismatched assets and a disjointed final product. For an e-commerce brand, a storyboard might sequence an AI avatar discussing product benefits, followed by user-generated clips, and end with a shot of lifestyle imagery. A SaaS company could plan a screen recording overlaid with an AI voiceover and animated callouts to highlight key features.
How to Implement This Step
Begin by breaking down your script into individual scenes or key moments. For each scene, specify the visual elements required. Will you use a custom AI avatar, stock B-roll footage, or AI-generated imagery? Documenting the source and type of each asset upfront prevents production delays and ensures every visual component serves a purpose.
Key Insight: A detailed storyboard acts as a production guide for your entire team (or for yourself). It clarifies exactly what needs to be created or sourced, saving significant time and resources during the asset generation and editing phases.
Here are a few actionable tips to get started:
- Specify Asset Types: For each scene, clearly define whether you need an AI avatar, human talent, generated imagery, or screen recordings. This clarity is essential for efficient production.
- Plan for Fast Pacing: For short-form content on platforms like TikTok and Reels, plan for quick cuts. Aim to switch visuals every 2-3 seconds to maintain viewer attention and momentum.
- Use a Visual Storyboard Builder: Tools like Sprello’s storyboard builder allow you to visually map out scenes with asset previews. This helps you visualize the flow and identify potential gaps before committing to production.
5. Generate & Curate Visual Assets (AI & Stock)
Once your script and storyboard are locked in, the next crucial step in your content creation checklist is to bring your vision to life by gathering the necessary visual components. This involves creating or sourcing every image and video clip needed, leveraging a powerful combination of AI generation tools, high-quality stock libraries, and your own existing brand assets. The goal is to build a cohesive visual narrative that aligns perfectly with your script and brand identity.

This modern approach, popularized by tools like Runway and Midjourney, democratizes high-end production by making it accessible without a large budget or physical shoot. For a fashion startup, this could mean using an AI avatar to model new products against AI-generated lifestyle backdrops. A SaaS company might combine screen recordings with AI-generated UI animations and product mockups to create a dynamic explainer video.
How to Implement This Step
Begin by mapping each scene from your storyboard to a specific visual asset requirement. Decide whether each asset will be generated by AI, sourced from a stock library, or pulled from your existing brand content. This methodical process ensures you have all the necessary components before moving to the editing phase, preventing costly delays and maintaining creative momentum.
Key Insight: The most effective visual strategies blend different asset types. Combining authentic, brand-shot footage with versatile AI-generated B-roll creates a dynamic and polished final product that feels both professional and unique.
Here are a few actionable tips to get started:
- Use Detailed, Specific Prompts: When using AI generators, provide prompts that include style, color palette, lighting references, and camera angles. Instead of "a person working," try "cinematic shot, a young female founder in a minimalist office, warm morning light, focused on a laptop screen."
- Batch-Generate Variations: To maximize your creative options without doubling your workload, generate multiple variations of each key visual. This provides more choices during the editing process.
- Prioritize Existing Assets: Before turning to AI or stock, review your brand’s existing library of photos and videos. Using authentic footage helps build brand trust and can be more cost-effective. Sprello streamlines this by allowing you to easily upload and integrate your own media alongside AI-generated content.
6. Select & Configure AI Avatar & Voice
The rise of AI-driven content has introduced a powerful tool: the digital avatar. This step in your content creation checklist involves choosing a photorealistic or stylized AI representation and a natural-sounding voice that aligns with your brand’s personality and connects with your target audience. It offers the human element of a live presenter with the efficiency and scalability of automation, eliminating the need for on-camera talent and complex filming setups.
This approach is invaluable for producing consistent, high-volume content. For example, a B2B SaaS company might use an authoritative avatar to deliver thought leadership videos, while a global e-commerce brand could deploy multi-language avatars to create localized product explainers for different markets. The key is to select a persona that embodies your brand and feels authentic to your viewers.
How to Implement This Step
Begin by browsing avatar libraries in platforms like Sprello, HeyGen, or Synthesia, looking for a character that mirrors your target demographic for better relatability. Then, pair them with a voice. Test different tones and inflections to find one that matches your brand’s personality: trustworthy, friendly, or expert. To ensure you select the optimal voice for your AI avatar, a comprehensive guide to the best Text to Speech (TTS) readers can be invaluable.
Key Insight: Consistency in your AI avatar and voice builds brand recognition. Using the same digital presenter across a campaign or series creates a familiar face and voice that your audience can come to trust.
Here are a few actionable tips to get started:
- Match Avatar to Audience: Choose an avatar that your target audience can see themselves in. This simple step can significantly increase engagement and trust.
- Test Voice Tones: Don't settle for the default. Experiment with different AI voices to find one that perfectly captures your brand's intended tone and emotional resonance.
- Customize for Variety: Use platform features to make subtle changes to your avatar’s appearance or attire across different videos to avoid visual monotony while maintaining consistency.
- Consider Cultural Nuances: When creating content for global audiences, be mindful of cultural sensitivities in both avatar appearance and voice selection to ensure your message is well-received.
For brands looking to understand how different personas can be applied, exploring a gallery of AI character voices can provide inspiration for your next campaign.
7. Add Dynamic Text, Captions & Visual Enhancements
Once your core video is assembled, the next critical step in a modern content creation checklist is layering dynamic text, captions, and visual enhancements. This post-production process transforms raw footage into polished, engaging content optimized for today's viewing habits, especially sound-off consumption on platforms like Instagram and TikTok. It's about making your message impossible to miss, even without audio.
Simply having a video is no longer enough; it must be accessible, scannable, and visually stimulating to hold attention. For an e-commerce brand, this means displaying a product name, a key benefit, and a price on-screen as an avatar speaks. For B2B content, it could be an animated counter highlighting a key statistic, reinforcing authority and making data digestible.
How to Implement This Step
Begin by generating automated captions for your video, which serve as a foundational layer. Then, strategically add on-screen text to emphasize the most important takeaways. The goal is to guide the viewer’s eye and improve comprehension without overwhelming the screen. Think of these elements as visual signposts that reinforce your audio narrative.
Key Insight: Most social media videos are viewed without sound. Dynamic captions and on-screen text aren't just an accessibility feature; they are a primary tool for message delivery and viewer retention.
Here are a few actionable tips to get started:
- Build from Auto-Captions: Use a tool like Sprello to generate auto-synced, highlighted captions as a starting point. Review and refine them for 100% accuracy and brand voice alignment.
- Keep Text Concise: Limit on-screen text to 2-3 powerful words per line. This ensures viewers can read and comprehend the message quickly as they scroll.
- Prioritize Readability: Use high-contrast colors, bold fonts, and subtle drop shadows to make your text pop against any background in your video.
- Sync with Audio: Animate text to appear in sync with the audio or key beats in the music. This creates a rhythmic, professional feel that enhances the viewing experience.
8. Implement Picture-in-Picture & Layering Effects
Modern audiences are adept at processing multiple visual inputs simultaneously, and your content should reflect that. Strategically composing multiple video layers using a picture-in-picture (PiP) technique is an advanced method to maximize visual information and keep viewers engaged. This part of your content creation checklist moves beyond simple cuts, creating dynamic, multi-dimensional videos that look professional and hold attention longer.
This technique involves overlaying one video clip on top of another, often with a talking head or avatar in a smaller window while B-roll or a screen recording plays full-screen. For a SaaS brand, this could be an AI avatar explaining a feature while a screen recording demonstrates it in the background. An e-commerce business might show a product in action while an avatar discusses its key benefits in a corner overlay, providing context and a human element.
How to Implement This Step
Begin by identifying the primary and secondary visual elements of your message. The primary visual (e.g., product footage, a software demo) should occupy the main screen, while the secondary element (e.g., the AI avatar or narrator) is placed in a smaller, inset window. This layering guides the viewer's focus while reinforcing the narrative with a presenter.
Key Insight: Layering isn't just about adding more visuals; it's about creating a cohesive visual hierarchy. The talking head provides the "why," while the B-roll or screen recording provides the "what," working together to deliver a more comprehensive message in less time.
Here are a few actionable tips to get started:
- Maintain Consistency: Keep the avatar or talking head in a consistent position, such as the bottom-right corner, across multiple videos. This builds viewer familiarity and creates a branded look.
- Limit Your Layers: To avoid visual clutter and maintain clarity, limit yourself to 2-3 simultaneous layers at most (e.g., avatar + B-roll + a simple text overlay).
- Leverage AI for Simplicity: Use tools like Sprello that offer one-click picture-in-picture and background removal. This allows you to quickly isolate your avatar against transparent backgrounds and test different layer arrangements without complex editing, dramatically speeding up your workflow.
By mastering layering, you can create content that is not only more informative but also significantly more engaging, a crucial advantage in today's fast-paced social feeds.
9. Preview, Review & Iterate Before Export
The final quality control gate in any professional content creation checklist is the preview and review stage. This step involves a thorough, scene-by-scene check of the complete video composition to catch errors, pacing issues, or messaging misalignments before committing to the final render. It’s the last chance to ensure your creative vision translates perfectly to the screen and prevents the need for time-consuming revisions after export.
Neglecting this step can lead to embarrassing mistakes like typos in captions, audio-visual sync problems, or a call-to-action that gets cut off. For an agency, this process involves multiple stakeholders previewing content before it reaches the client. For in-house teams, it might be a creator self-review followed by a manager's approval. Even solo creators should simulate the viewer experience by previewing on their own phones.
How to Implement This Step
Before exporting your final video, create a systematic review workflow. The goal is to move from a creator's perspective to an audience's perspective. Watch the entire video at least twice: first for overall flow, messaging, and pacing, and a second time specifically for technical details like audio levels, caption accuracy, and visual glitches. This disciplined approach ensures a polished, professional output every time.
Key Insight: The device you preview on matters. Most social content is consumed on mobile, so a final check on a smartphone is non-negotiable to spot issues with aspect ratios, text legibility, and on-screen element placement.
Here are a few actionable tips to get started:
- Follow an Internal Checklist: Create a simple checklist for every review. Does the hook grab attention in the first three seconds? Is the core message clear? Is the call-to-action visible and compelling? Is the audio crisp and clear?
- Preview on a Mobile Device: Always watch the final version on a smartphone to replicate the actual social media viewing experience. This helps you catch formatting issues that aren't apparent on a large desktop monitor.
- Use Integrated Preview Tools: Leverage tools that make this process seamless. For example, Sprello allows you to preview the entire video composition before rendering, so you can assess the full output with AI avatars, voiceovers, and assets in place, making iterations fast and simple.
By treating the preview stage as a mandatory part of your workflow, you guarantee that the content you publish is error-free and optimized for maximum impact.
10. Optimize for Platform & Export in Multiple Formats
Creating a powerful video is only half the battle; ensuring it looks and performs its best on every platform is just as critical. A key step in any comprehensive content creation checklist is to optimize your exports for each specific channel. Simply uploading the same 9:16 file to TikTok, YouTube, and LinkedIn ignores the unique technical requirements and user expectations of each platform, ultimately hindering your reach and impact.
This process involves more than just resizing. It means considering aspect ratios, file sizes, codecs, and even platform-specific creative elements like safe zones for text. For an e-commerce brand, a single campaign video might be exported as a 9:16 vertical clip for Instagram Reels, a 1:1 square video for a Facebook feed ad, and a 16:9 widescreen version for a YouTube pre-roll ad, ensuring a native and professional viewing experience everywhere.
How to Implement This Step
Begin by identifying all the platforms where your content will be distributed. Instead of creating one master video and cropping it, plan your shots and on-screen text to work across multiple formats from the start. This prevents important details or calls-to-action from being awkwardly cut off. Use presets in your editing software or creation platform to streamline the export process for each destination.
Key Insight: Optimizing for each platform signals to the algorithm that your content is high-quality and native to the environment. This can lead to better organic reach and more favorable ad performance.
Here are a few actionable tips to get started:
- Use Platform-Specific Presets: Leverage tools with built-in export settings for major platforms. For example, Sprello offers one-click export presets for TikTok, YouTube Shorts, and Instagram Reels, guaranteeing your video meets all technical specifications without manual adjustments.
- Create Tailored Variations: If resources allow, create slightly different versions with platform-specific CTAs. A "Link in Bio" CTA works for Instagram, while a "Click the Link Below" is better suited for YouTube.
- Always Export in High Quality: Start with the highest resolution possible (e.g., 4K). Platforms will compress your video anyway, so providing a high-quality source file results in a much crisper final product for the viewer.
- Check Safe Zones: Be mindful of where platforms place their UI elements like usernames, captions, and like buttons. Keep your key visuals and text away from these areas to ensure they remain visible.
10-Point Content Creation Checklist Comparison
| Item | Implementation complexity | Resource requirements | Expected outcomes | Ideal use cases | Key advantages |
|---|---|---|---|---|---|
| Define Target Audience & Campaign Objectives | Medium — research and segmentation needed | Analytics, market research time, stakeholder alignment | Targeted messaging, higher conversion efficiency | E‑commerce, D2C startups, agency campaigns | Reduces wasted creative effort; improves conversion and cost‑efficiency |
| Research & Validate Hook/Opening Strategy | Medium–High — iterative testing required | Hook libraries, A/B testing framework, trend monitoring | Improved early retention and CTR; stronger algorithmic reach | Short‑form launches, viral attempts, attention‑critical content | Boosts reach and retention; enables rapid hook iteration |
| Develop Script & Messaging Framework | Medium — structured writing and reviews | Copywriters, scripting tools, review cycles | Clear, consistent messaging and faster production | Product demos, B2B explainer, creator-driven content | Saves production time; enforces brand consistency |
| Plan Visual Storyboard & Scene Composition | High — detailed visual planning | Storyboarding tools, designers, planning time | Smooth production flow, consistent visual language | Complex sequences, multi‑asset videos, campaigns | Reduces on‑set decisions; enables parallel asset creation |
| Generate & Curate Visual Assets (AI & Stock) | Medium–High — model selection and prompting skill | Generative models, stock libraries, prompt expertise | Scalability of visuals, lower shoot costs, many variations | Fast paced brands, low‑budget production, testing | Eliminates filming costs; rapid asset variation |
| Select & Configure AI Avatar & Voice | Medium — customization and testing | Avatar/voice platform access, localization testing | Scalable presenter, consistent brand persona | Brands replacing on‑camera talent, multi‑language campaigns | No talent scheduling; cost‑effective and scalable presentation |
| Add Dynamic Text, Captions & Visual Enhancements | Low–Medium — styling and timing precision | Captioning tools, style guidelines, editor time | Better accessibility, higher comprehension and retention | Sound‑off platforms, educational and social posts | Improves accessibility and clarity; boosts engagement |
| Implement Picture‑in‑Picture & Layering Effects | High — composition and timing complexity | Advanced editor, multiple assets, planning | Dense, informative compositions with personal presence | Tutorials, SaaS demos, product walkthroughs | Combines demo visuals with avatar; professional multi‑layer look |
| Preview, Review & Iterate Before Export | Low–Medium — disciplined QA process | Reviewers, mobile/dev previews, checklists | Fewer post‑release errors, improved final quality | Agency approvals, team workflows, creator self‑checks | Catches issues early; reduces revision cycles and costs |
| Optimize for Platform & Export in Multiple Formats | Low — technical presets available | Export presets, storage, time for batch exports | Platform‑compliant files, maximized reach across channels | Multi‑platform distribution, repurposing strategy | Saves time with batch exports; ensures technical compliance |
From Checklist to Conversion: Your Next Step
Navigating the world of content creation can feel like trying to solve a complex puzzle with missing pieces. You have a great idea, a target audience in mind, and the drive to create, but the sheer number of steps involved can be paralyzing. This comprehensive content creation checklist was designed to be your guide, transforming that chaotic process into a structured, repeatable, and scalable system for success.
We've walked through the entire journey, from the foundational pre-production work of defining your audience and campaign objectives to the creative spark of researching and validating a killer hook. We’ve covered the practical mechanics of scripting, storyboarding, and generating assets, highlighting how modern AI tools can dramatically accelerate your workflow. Finally, we detailed the critical post-production and launch phases, including multi-platform optimization, quality assurance, and the all-important feedback loop of measurement and iteration.
The ultimate goal of this checklist isn't just to help you make more content; it's to empower you to create smarter content that consistently delivers results.
Key Takeaways: Structure Is Your Creative Superpower
If there’s one central idea to take away, it's this: Structure does not limit creativity; it unleashes it. A systematic approach frees you from the mental burden of juggling dozens of technical tasks, allowing you to focus your energy on what truly matters: your message, your story, and your connection with your audience.
Here are the most critical takeaways from our checklist:
- Strategy Before Execution: The most successful content is born from a clear strategy. Skipping the initial steps of audience definition, objective setting, and hook research is like building a house without a blueprint. You might end up with something, but it won’t be sturdy or serve its purpose effectively.
- AI as a Co-Pilot, Not an Autopilot: Tools for generating AI avatars, voices, and visual assets are incredibly powerful, but they work best when guided by your unique human insight. Use them to execute your creative vision at scale, not as a replacement for it. Your strategy and brand voice should always be in the driver's seat.
- Iteration is the Engine of Growth: Your first piece of content following this checklist won't be your best, and that's a good thing. The true power of a systematic process is that it provides a consistent baseline for testing and learning. Each video, post, and campaign becomes a data point that informs the next, creating a cycle of continuous improvement that drives long-term growth.
Your Actionable Next Steps
Knowledge is only valuable when put into action. Don't let this checklist become another bookmarked article you never revisit. Here’s how to start implementing what you’ve learned today:
- Choose One Platform to Master: Instead of trying to be everywhere at once, pick one social media platform where your target audience is most active. Apply this entire content creation checklist to create three to five pieces of content specifically for that channel.
- Audit Your Current Workflow: Compare your existing content creation process (or lack thereof) to the ten steps outlined in this article. Identify the biggest gaps. Are you skipping storyboarding? Are you failing to optimize for different platforms? Pinpoint one or two areas to improve immediately.
- Embrace a Centralized Tool: The friction of switching between multiple apps for scripting, asset generation, voiceovers, editing, and captioning is a major productivity killer. By consolidating your workflow into a single, integrated platform, you reclaim valuable time and mental energy.
Ultimately, mastering this content creation checklist is about more than just checking boxes. It’s about building a reliable content engine that fuels your brand’s growth, engages your audience, and turns viewers into loyal customers. It’s your pathway from hoping for random viral moments to engineering consistent, predictable success.
Ready to turn this checklist into a seamless, AI-powered workflow? Sprello was built to do just that, bringing scripting, AI avatars, voice generation, and powerful editing tools into one intuitive platform. Stop juggling apps and start creating high-converting content at scale by trying Sprello today.


